Project Solaris Combat and QTE Mastery
Command Hom with intent — read gauges, telegraphs, and Trust before every click.
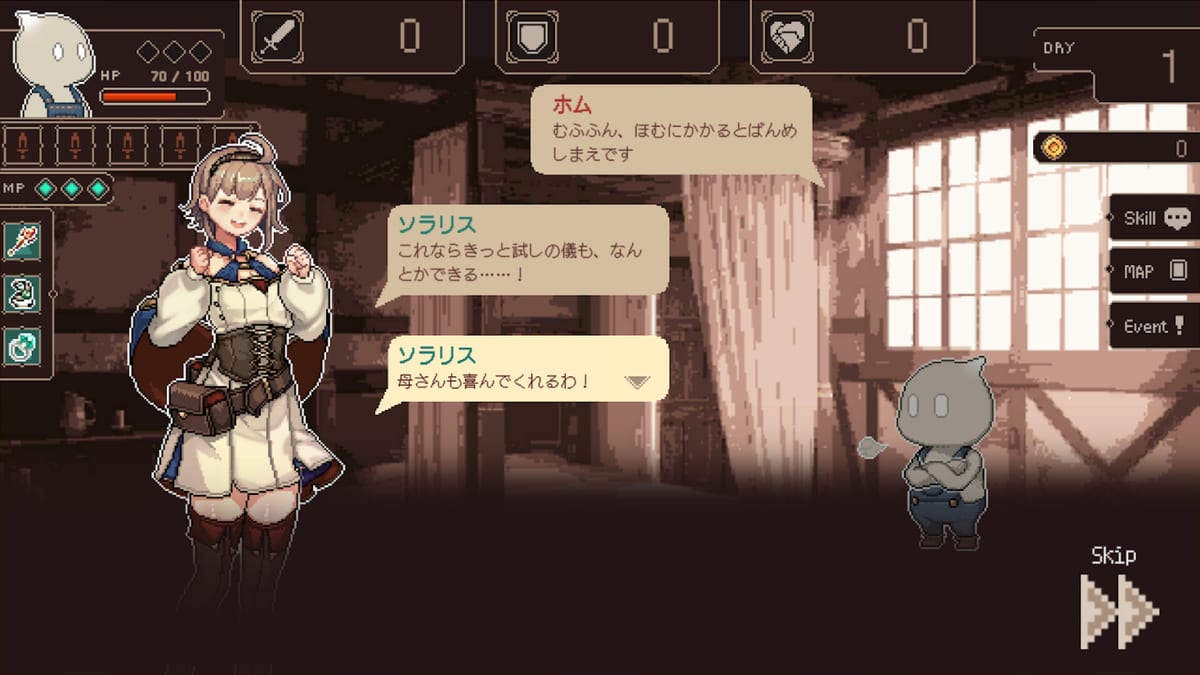
Combat in Project Solaris is turn-based in structure but skill-expressive in practice. Solaris chooses commands; partner Hom (ホム) executes them through a QTE gauge. Landing the window decides whether a plan becomes damage, a critical spike, or a wasted turn. This guide goes deep on yellow, red, and black / miss outcomes, enemy telegraphs, and how Trust / Reliability changes which skills are realistic. For raw click technique, keep Controls open. For calendar context, use 100-Day Strategy.
The command loop
- Read the enemy state and your resources.
- Select a Hom skill or command that matches the job (damage, setup, safer poke).
- Track the QTE gauge as Hom acts.
- Click for yellow (success) or push for red (critical) when the window and Trust allow.
- Recover from black / miss without tilting into a worse skill next turn.
Hom is not a pet you ignore. Gear flavor, Trust, and your mouse timing are the build. Solaris’s role is decision quality under the 100-day clock.
Gauge colors explained
Yellow — success
Yellow is your baseline win. It should be the default goal for most turns, especially before Day 10 elites while you are still calibrating. A run that lands yellow consistently outscales a run that fishes red and bricks half its turns.
Red — critical
Red is high reward. Take it when:
- Trust / Reliability already supports the skill tier.
- The enemy telegraph gives you a clean read.
- Missing would not strand you in a lethal follow-up.
Do not chase red on every opener. Critical hunting is a mid-fight tool after you have established control.
Black / miss — failure
Black means the command failed to deliver. Causes include late clicks, early clicks, spam, fatigue, mismatched gear, or attempting a Trust-gated skill too soon. After a miss:
- Switch to a skill you can yellow reliably.
- Consider whether Rest should have been yesterday’s card (see Getting Started).
- Check whether Hom’s craft gear matches the skill’s flavor — Shopkeeping covers craft priority.
Enemy telegraphs and turn planning
Treat enemy animations, stance changes, and UI tells as homework. A telegraph that screams heavy damage means this is a yellow-safe turn, not a red-greed turn. When an enemy winds up a multi-hit or trial pattern, value survival skills and consistent Hom execution over highlight-reel crits.
Boss and Trial Ceremony patterns around the ~20-day cadence punish greed. Day 10 elites punish players who only practiced easy yellows in trash fights. Warm up with a Battle day before ceremony windows so your first gauge is not cold.
Skill risk versus Trust
Trust / Reliability is the soft permission layer on hard skills. Higher bond makes difficult QTEs feel fairer; low bond makes the same skill a black factory. That means Social / Development cards are combat prep, not optional slice-of-life. Full detail: Trust and Bond.
Risk ladder in practice:
- Low Trust — stick to skills you can yellow. Learn cards can wait until bond catches up.
- Mid Trust — mix yellows with occasional red on practiced skills.
- High Trust — unlock the flashy kit for Trial Ceremony turns that need burst.
If a new Learn skill feels impossible, the answer is often bond or practice, not “buy more Solaris gear immediately.” Gear helps, but Trust is the multiplier on whether gear matters.
Hom gear and skill flavor
Hom crafts are cheaper and more random than Solaris’s buy-anytime power pieces. Match Hom gear to the flavor of skills you actually click. A mismatched craft that looks strong on paper can still produce awkward timing or weak payoffs. Solaris gear remains the expensive spike purchase when a ceremony demands raw power — fund it with Battle loot or Shopkeeping sessions.
Fight templates
Early Battle days
Goal: calibrate yellow. Ignore fancy routes. Confirm Controls habits.
Pre-elite (around Day 10)
Goal: prove you can yellow under pressure and land one planned red. Ensure Trust is not dead-last among resources.
Trial Ceremony (~every 20 days)
Goal: planned skill sequence. Open safe, convert when telegraphs allow, never open on a Trust-gated red you have not practiced.
Final Trial (Day 100)
Goal: everything together — calendar prep from 100-Day Strategy, bond from Trust and Bond, economy from shopkeeping, and ending awareness from Endings if branches affect your last stretch.
Mental model for improvement
Record (mentally or on paper) why each black happened: early, late, wrong skill, low Trust, or distraction. Patterns tell you whether to fix hardware habits (Controls), calendar fatigue (Rest cards), or relationship investment. Watching BitSummit-style gameplay helps you see pacing; your own Battle days cement it.
Related reading
- Getting Started — first-hour checklist
- Controls — click technique
- Trust and Bond — Reliability growth
- 100-Day Strategy — when to Battle versus Rest
- Shopkeeping — funding gear that supports QTEs
- Guides Hub — full index
- Players Hub — cast context for story fights
- Tier List Hub — investment priority once systems click
Master yellow first. Earn red. Respect black as feedback. That loop clears more Trial Ceremonies than any single expensive purchase.
Frequently Asked Questions
Quick answers for Project Solaris players.
What do yellow, red, and black mean in Project Solaris combat?
Yellow is a successful Hom execution, red is a critical success, and black or miss is a failed command. Aim for consistent yellows before fishing for red.
Why do hard skills feel impossible?
Hard skills usually need higher Trust / Reliability and clean click timing. Raise bond with Social cards and practice safer skills until the window feels fair.
Should I always go for criticals?
No. Red is situational. Use it when Trust, telegraphs, and fight state support the risk. Greed before Day 10 elites or Trial Ceremonies ends runs.
How do enemies telegraph attacks?
Watch stance, animation, and UI tells before choosing a greedy skill. Heavy telegraphs are yellow-safe turns more often than red turns.
Does gear affect QTEs?
Hom gear should match skill flavor and supports execution quality; Solaris gear is the expensive power spike. Economy details are on the Shopkeeping guide.
What video is embedded on this page?
BitSummit TheMIX gameplay and interview footage (ID b4lCzF21oTE) to show real combat pacing alongside this written guide.